
Getting Started in Cobbleverse
A version-specific first-session route from starter selection to catching a teammate, using recovery services, managing storage and supplies, and choosing Brock as the first Kanto objective.
Guide
This guide applies to COBBLEVERSE 1.7.42 on Minecraft 1.21.1 with Fabric. It follows a fresh single-player world through the decisions that establish a stable early game: choose a starter, check the supplied equipment, catch one nearby Pokémon, learn where healing and storage live, understand the currency display, and select the first regional checkpoint.
The first catch and starter selection were completed in Survival. Commands were enabled later only to reach a village quickly for time-bounded testing; the affected healing, storage, shop, and Trainer Card screenshots are identified below. You do not need commands for ordinary play.
Use this order so that each action leaves you ready for the next one:
There is no verified early-game fast-travel item in this first-session flow. Travel on foot and use the minimap to keep your route legible. A ride-capable Pokémon can become a later mobility option, but it is not required to complete these opening steps.
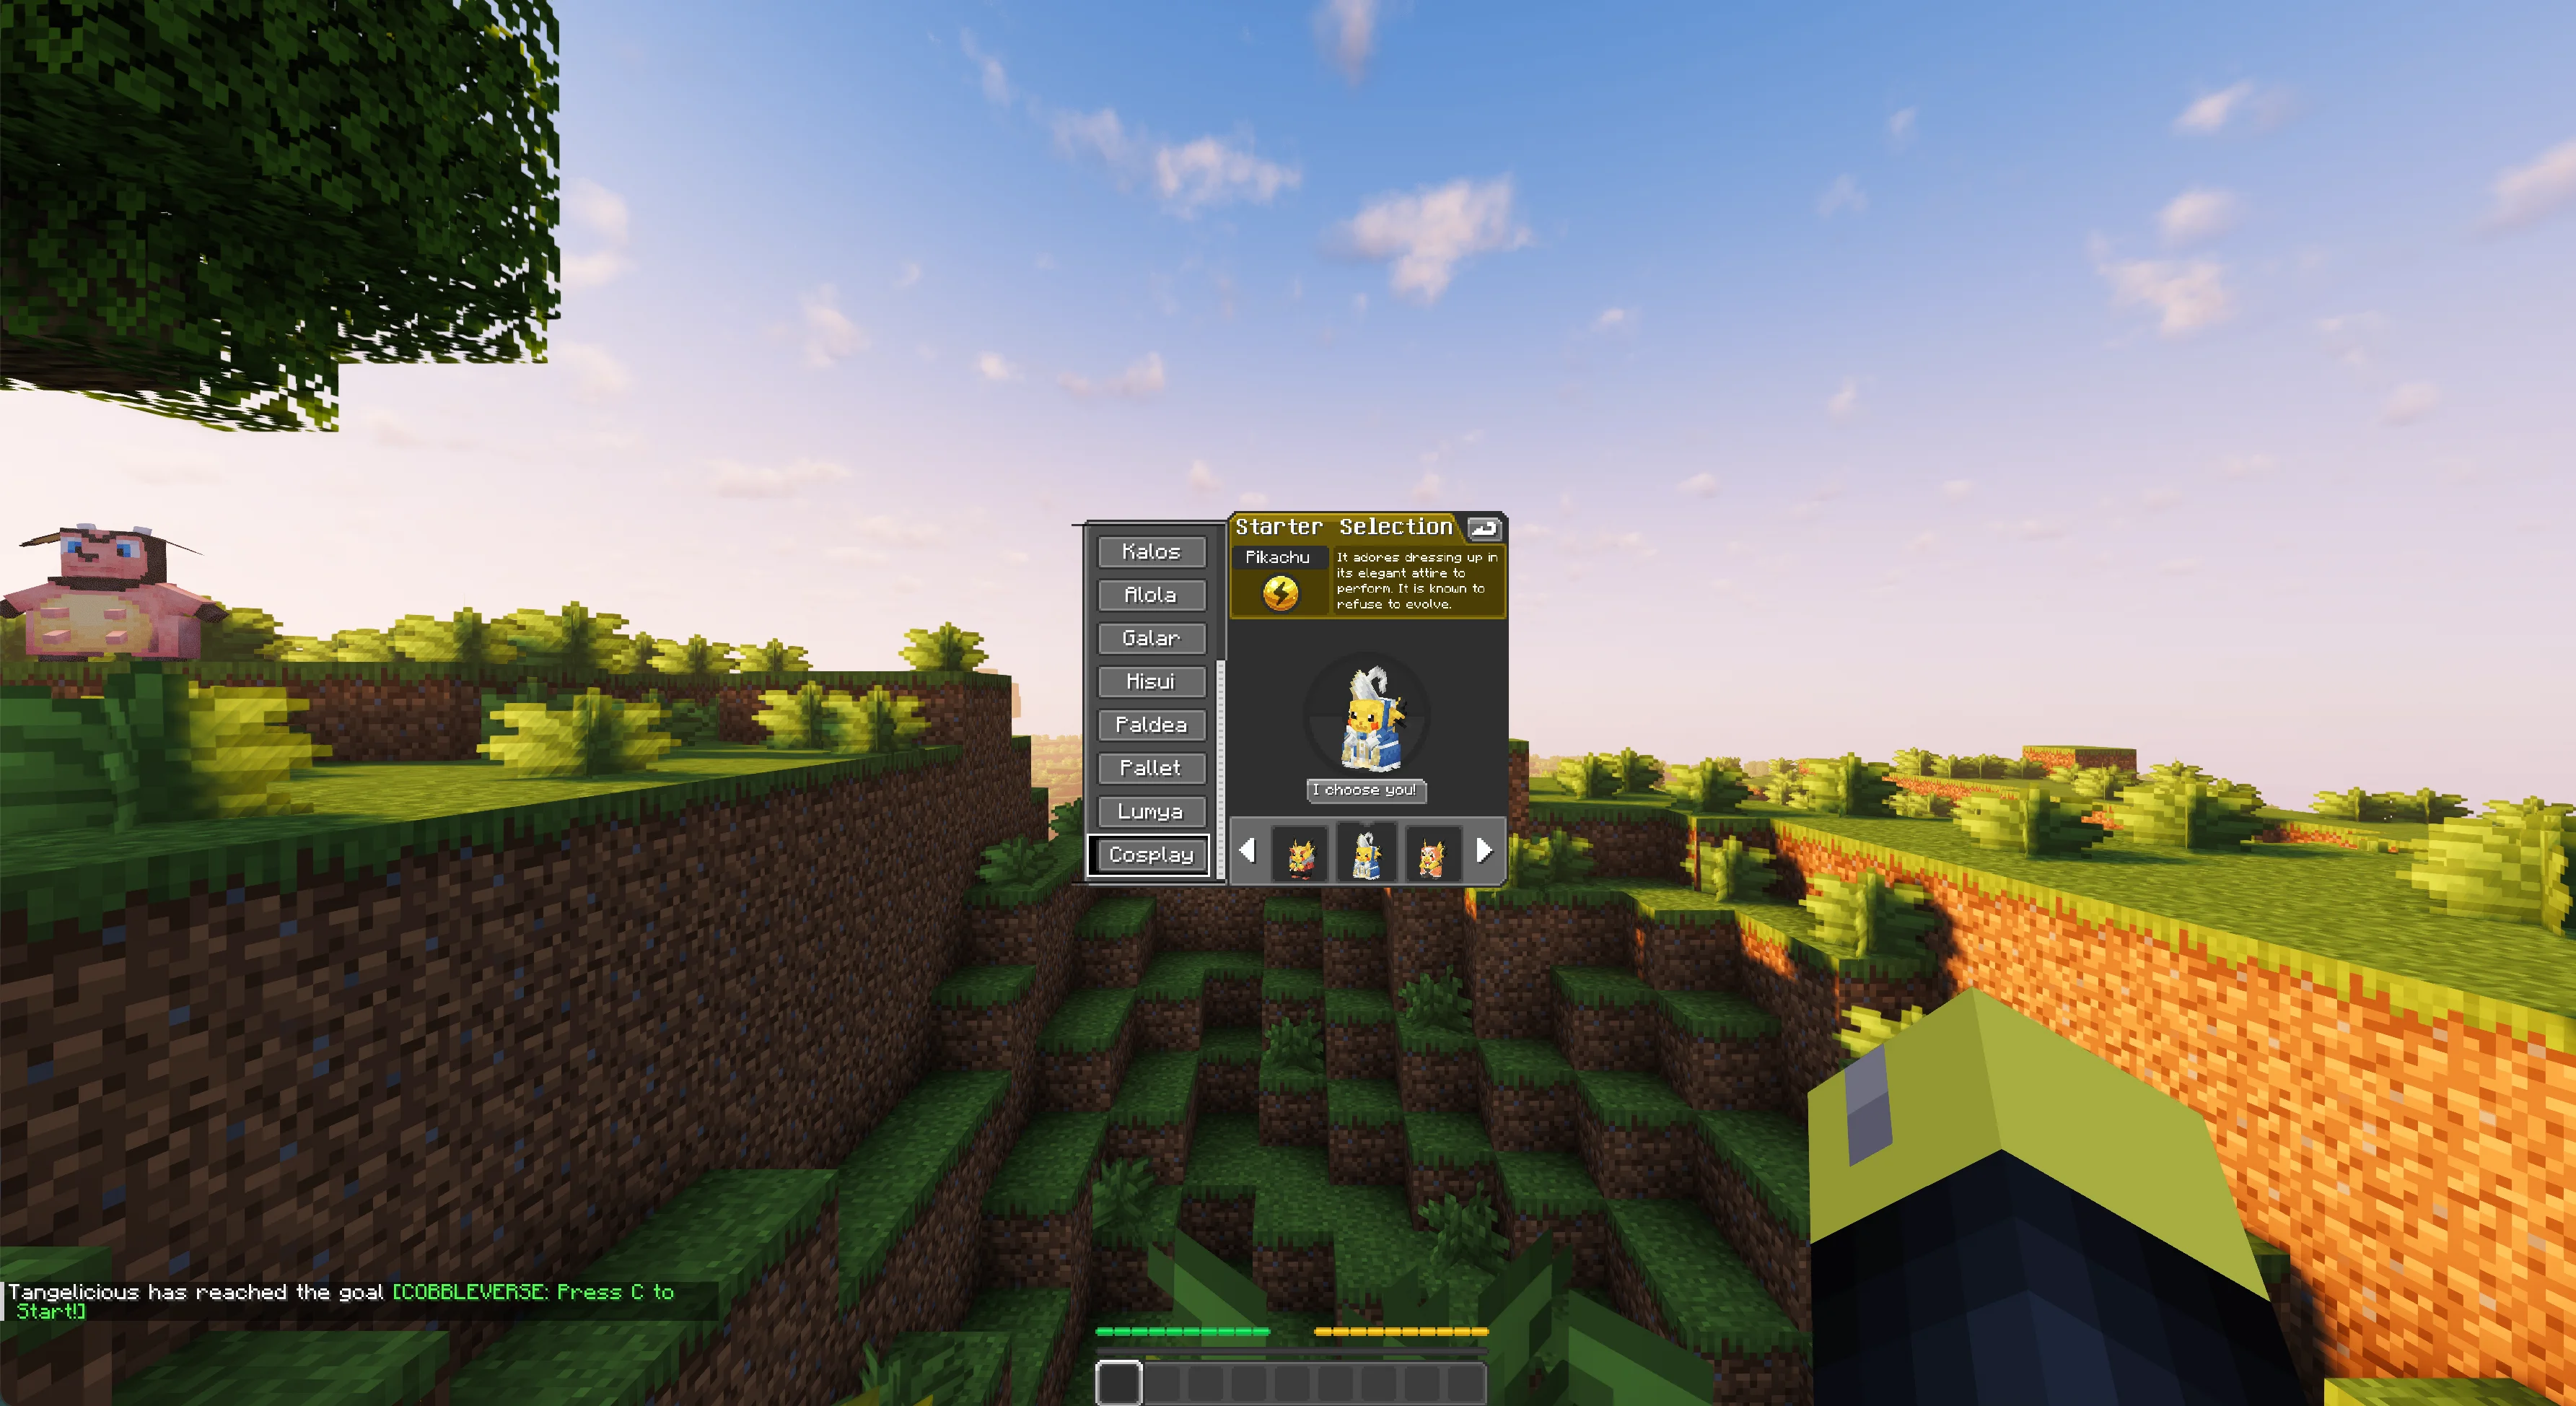
The first-join menu exposes the standard regional categories from Kanto through Paldea plus three custom groups: Pallet, Lumya, and Cosplay. The Pallet tab offers Pichu, Pikachu, and Eevee. Lumya offers Budew, Bagon, and Azurill. Cosplay contains costumed Pikachu variations.
Upper starter-category list with Kanto through Galar and the Kanto trio visible
There is no universally best starter. Pick for the experience you want, then build around its weaknesses with Pokémon found nearby. The verified session selected Bagon from Lumya; that choice is an example, not a recommendation.
After clicking I choose you!, the level 5 starter joins the party and the starter pack appears in the hotbar. In 1.7.42 the bundled starter function provides an Iron Backpack, red Pokédex, 10 Poké Balls, 10 Oran Berries, a Trainer Card, and the Cobbleverse guidebook. Keep the Poké Balls and berries accessible; they are enough to attempt an early catch without finding a shop first.
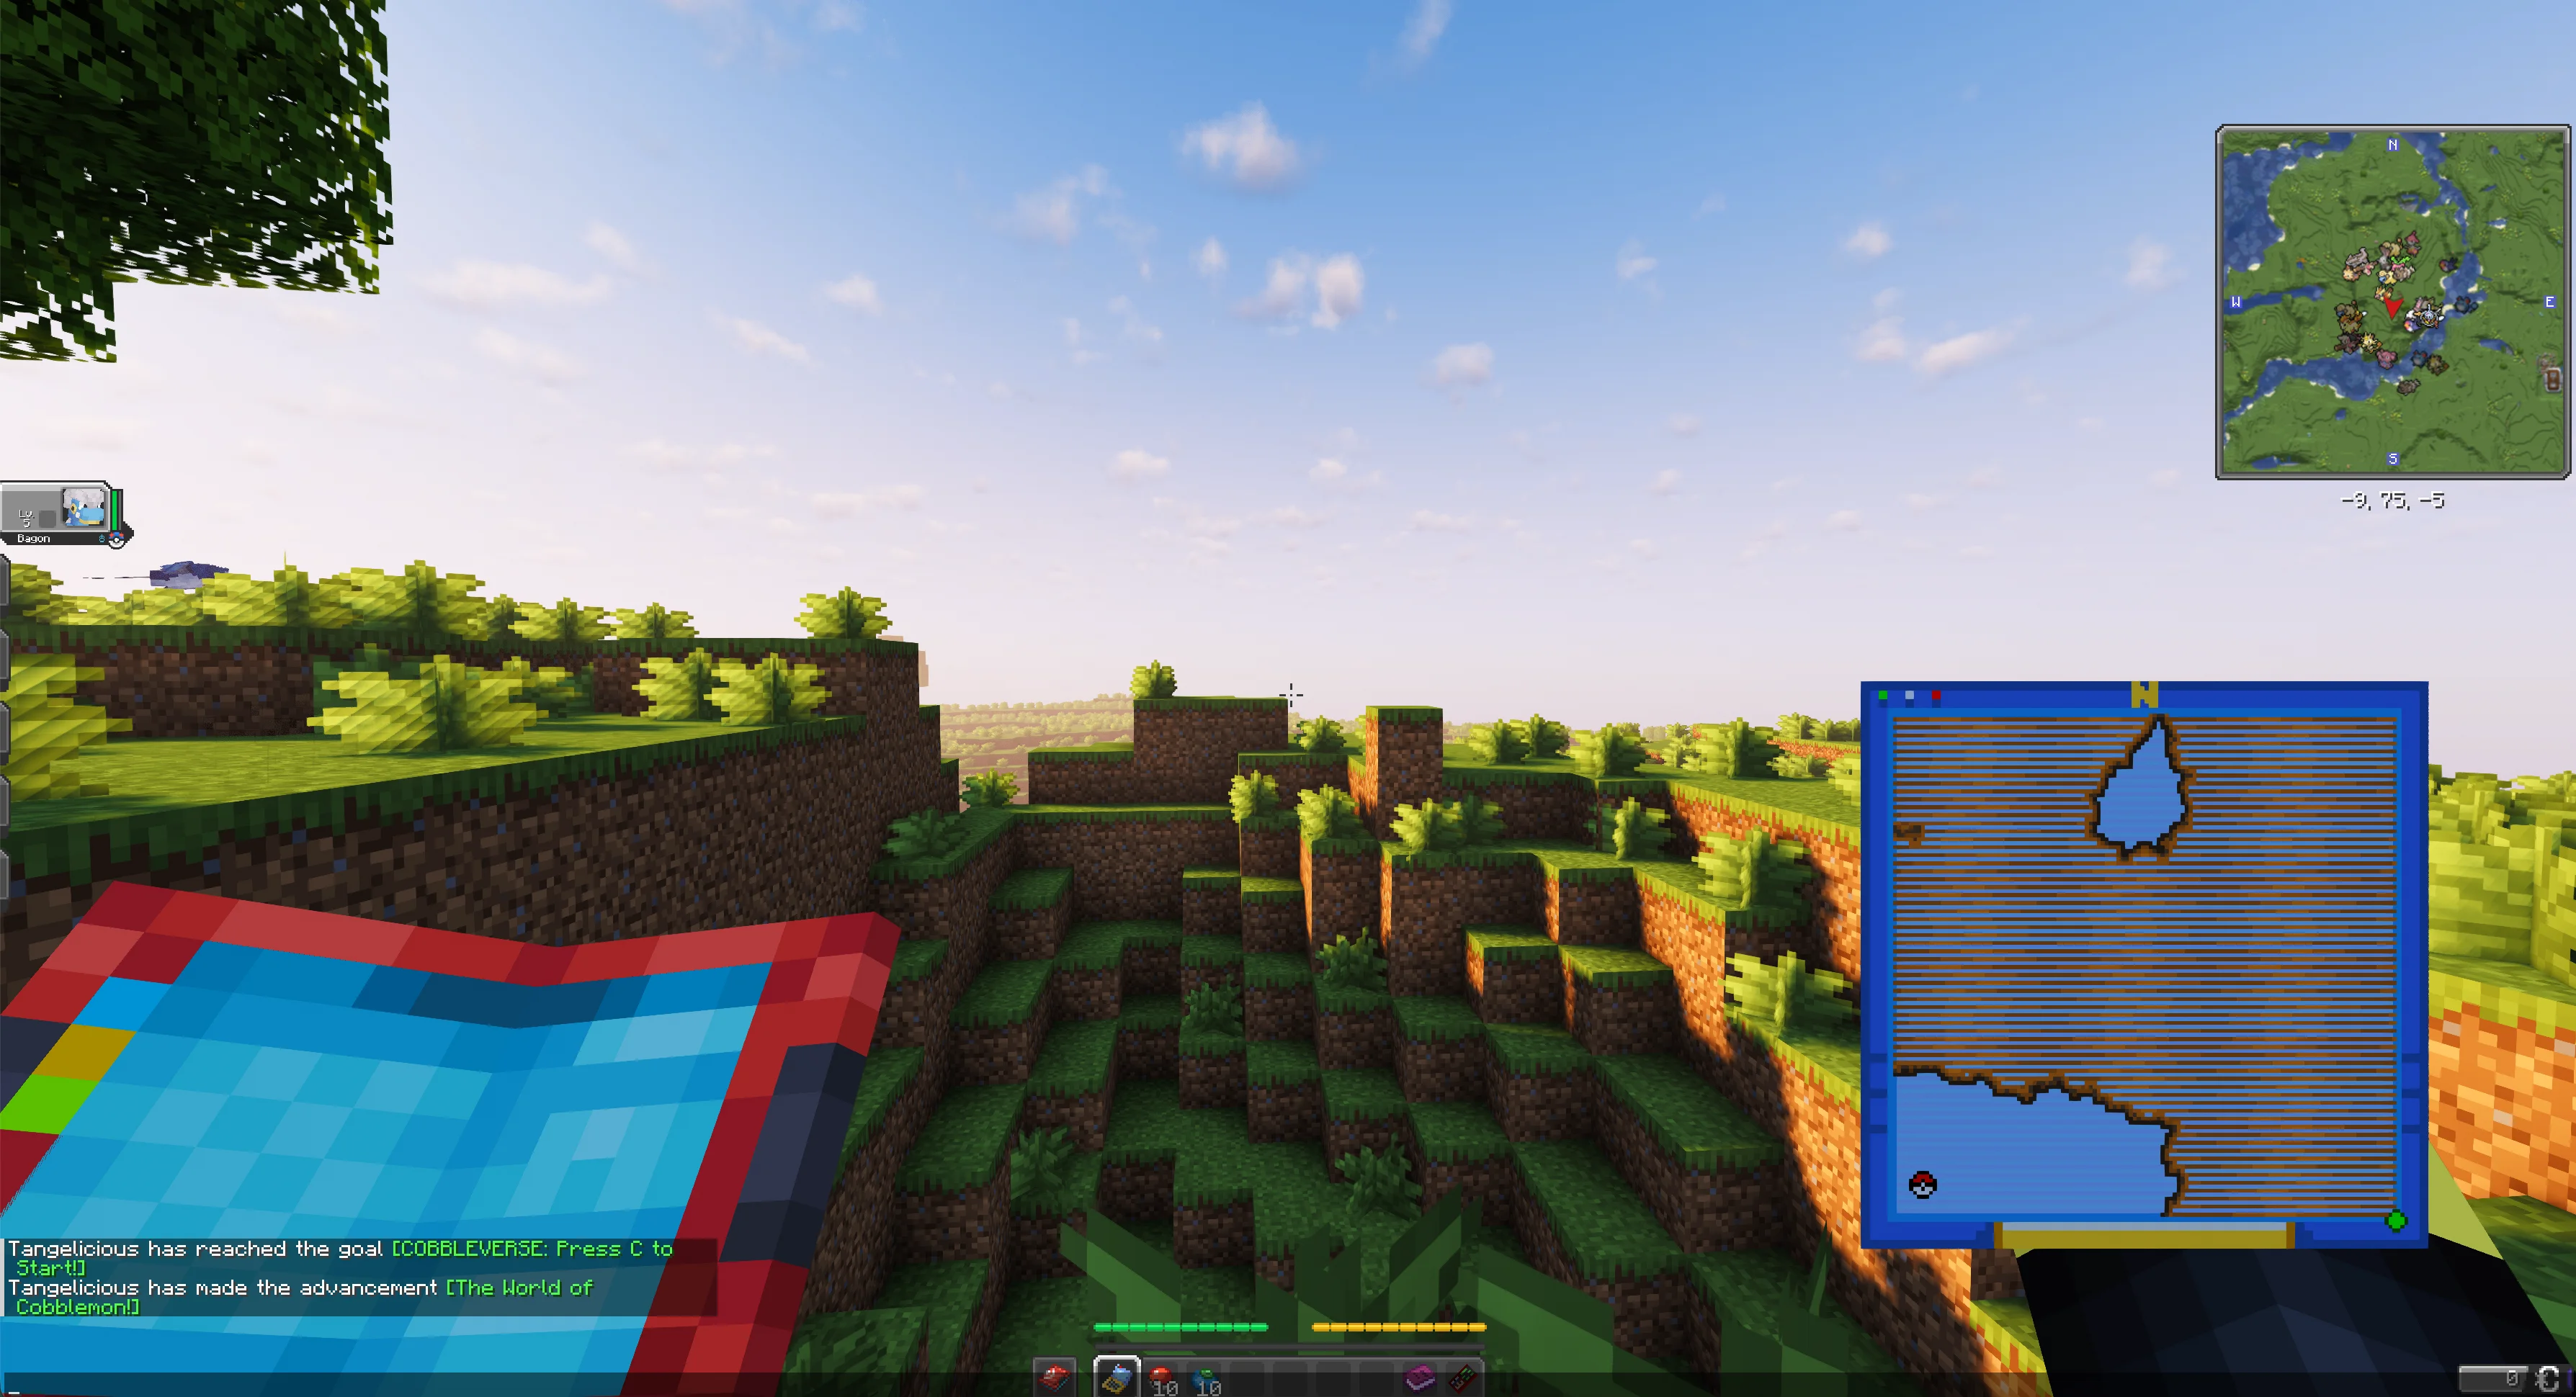
Look for a nearby wild Pokémon at a manageable level. Start the encounter, weaken it if your starter can do so safely, then choose Catch. Do not spend all 10 starting Poké Balls on one target: leave enough attempts for a different encounter if the first one repeatedly escapes.
The verified session challenged a level 8 Mareep with a level 5 Bagon and caught it with a starting Poké Ball. The party display and A New Friend! advancement confirmed that the capture succeeded.
Catch command available at the start of the first wild Mareep encounter
If your starter is too weak to lower the target safely, run and search for a lower-level encounter. If a capture consumes several balls without succeeding, stop before exhausting the starting supply.
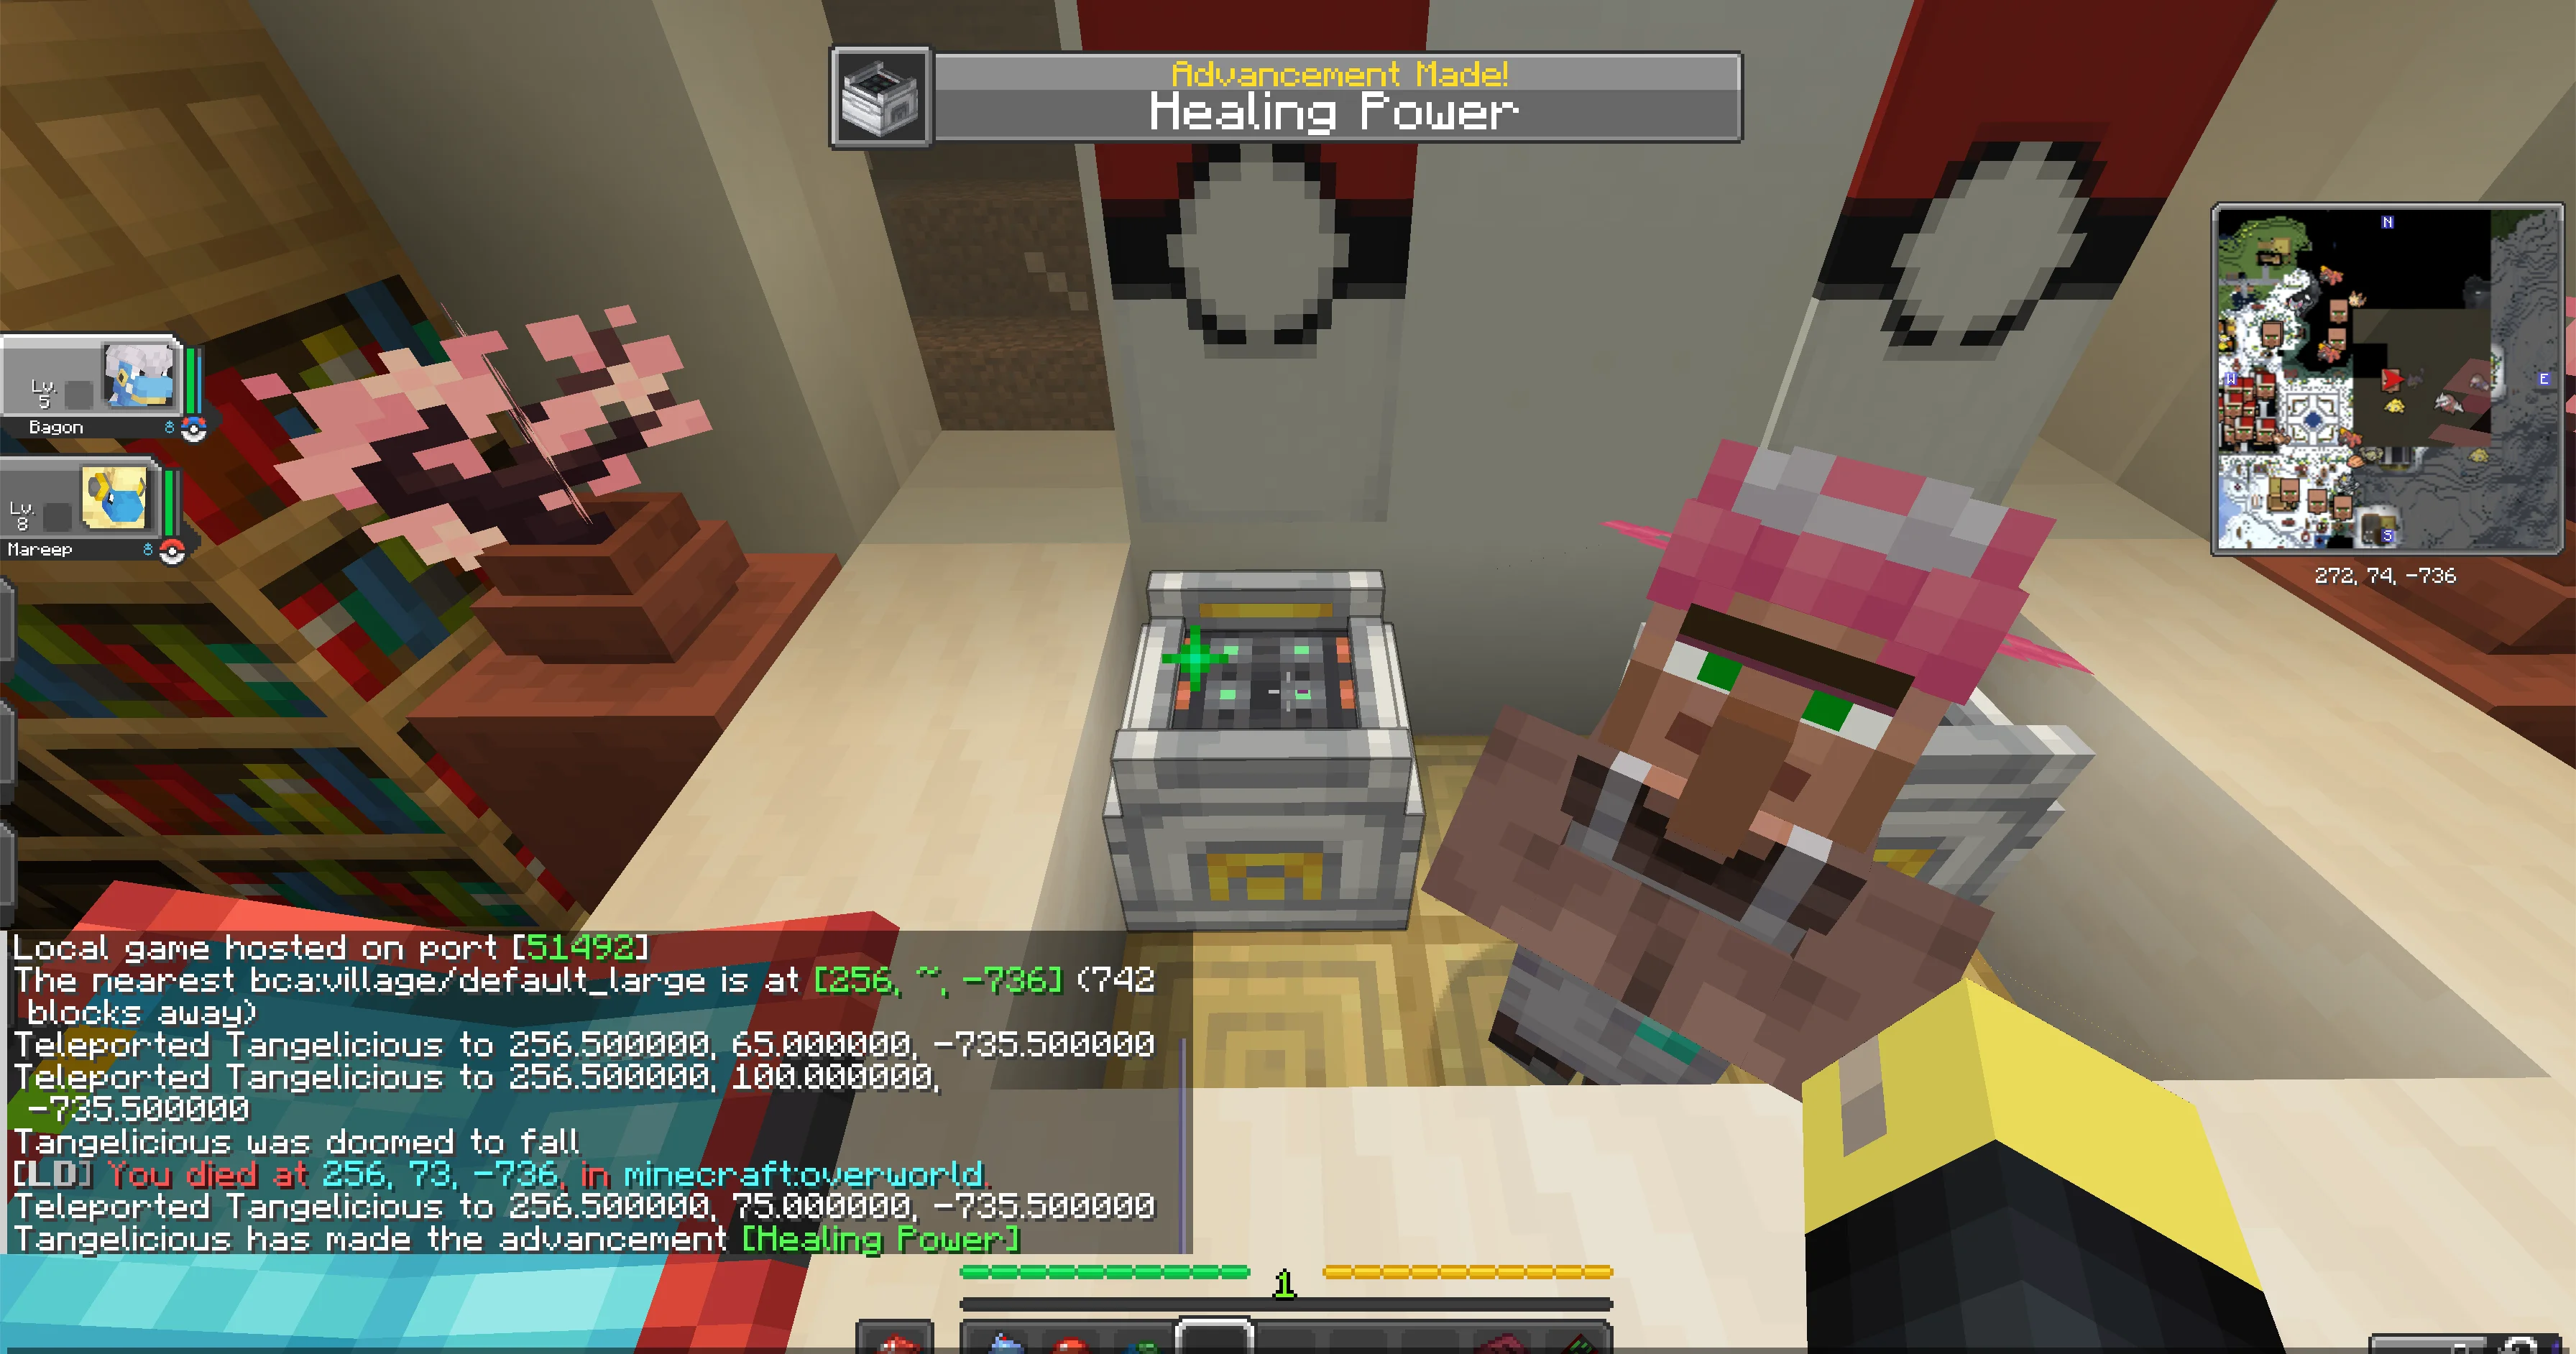
Pokémon Centers in villages contain a Healing Pylon. Interact with the pylon to restore the party. Its Poké Ball animation is brief, so use the party health display—not the animation alone—to confirm the result.
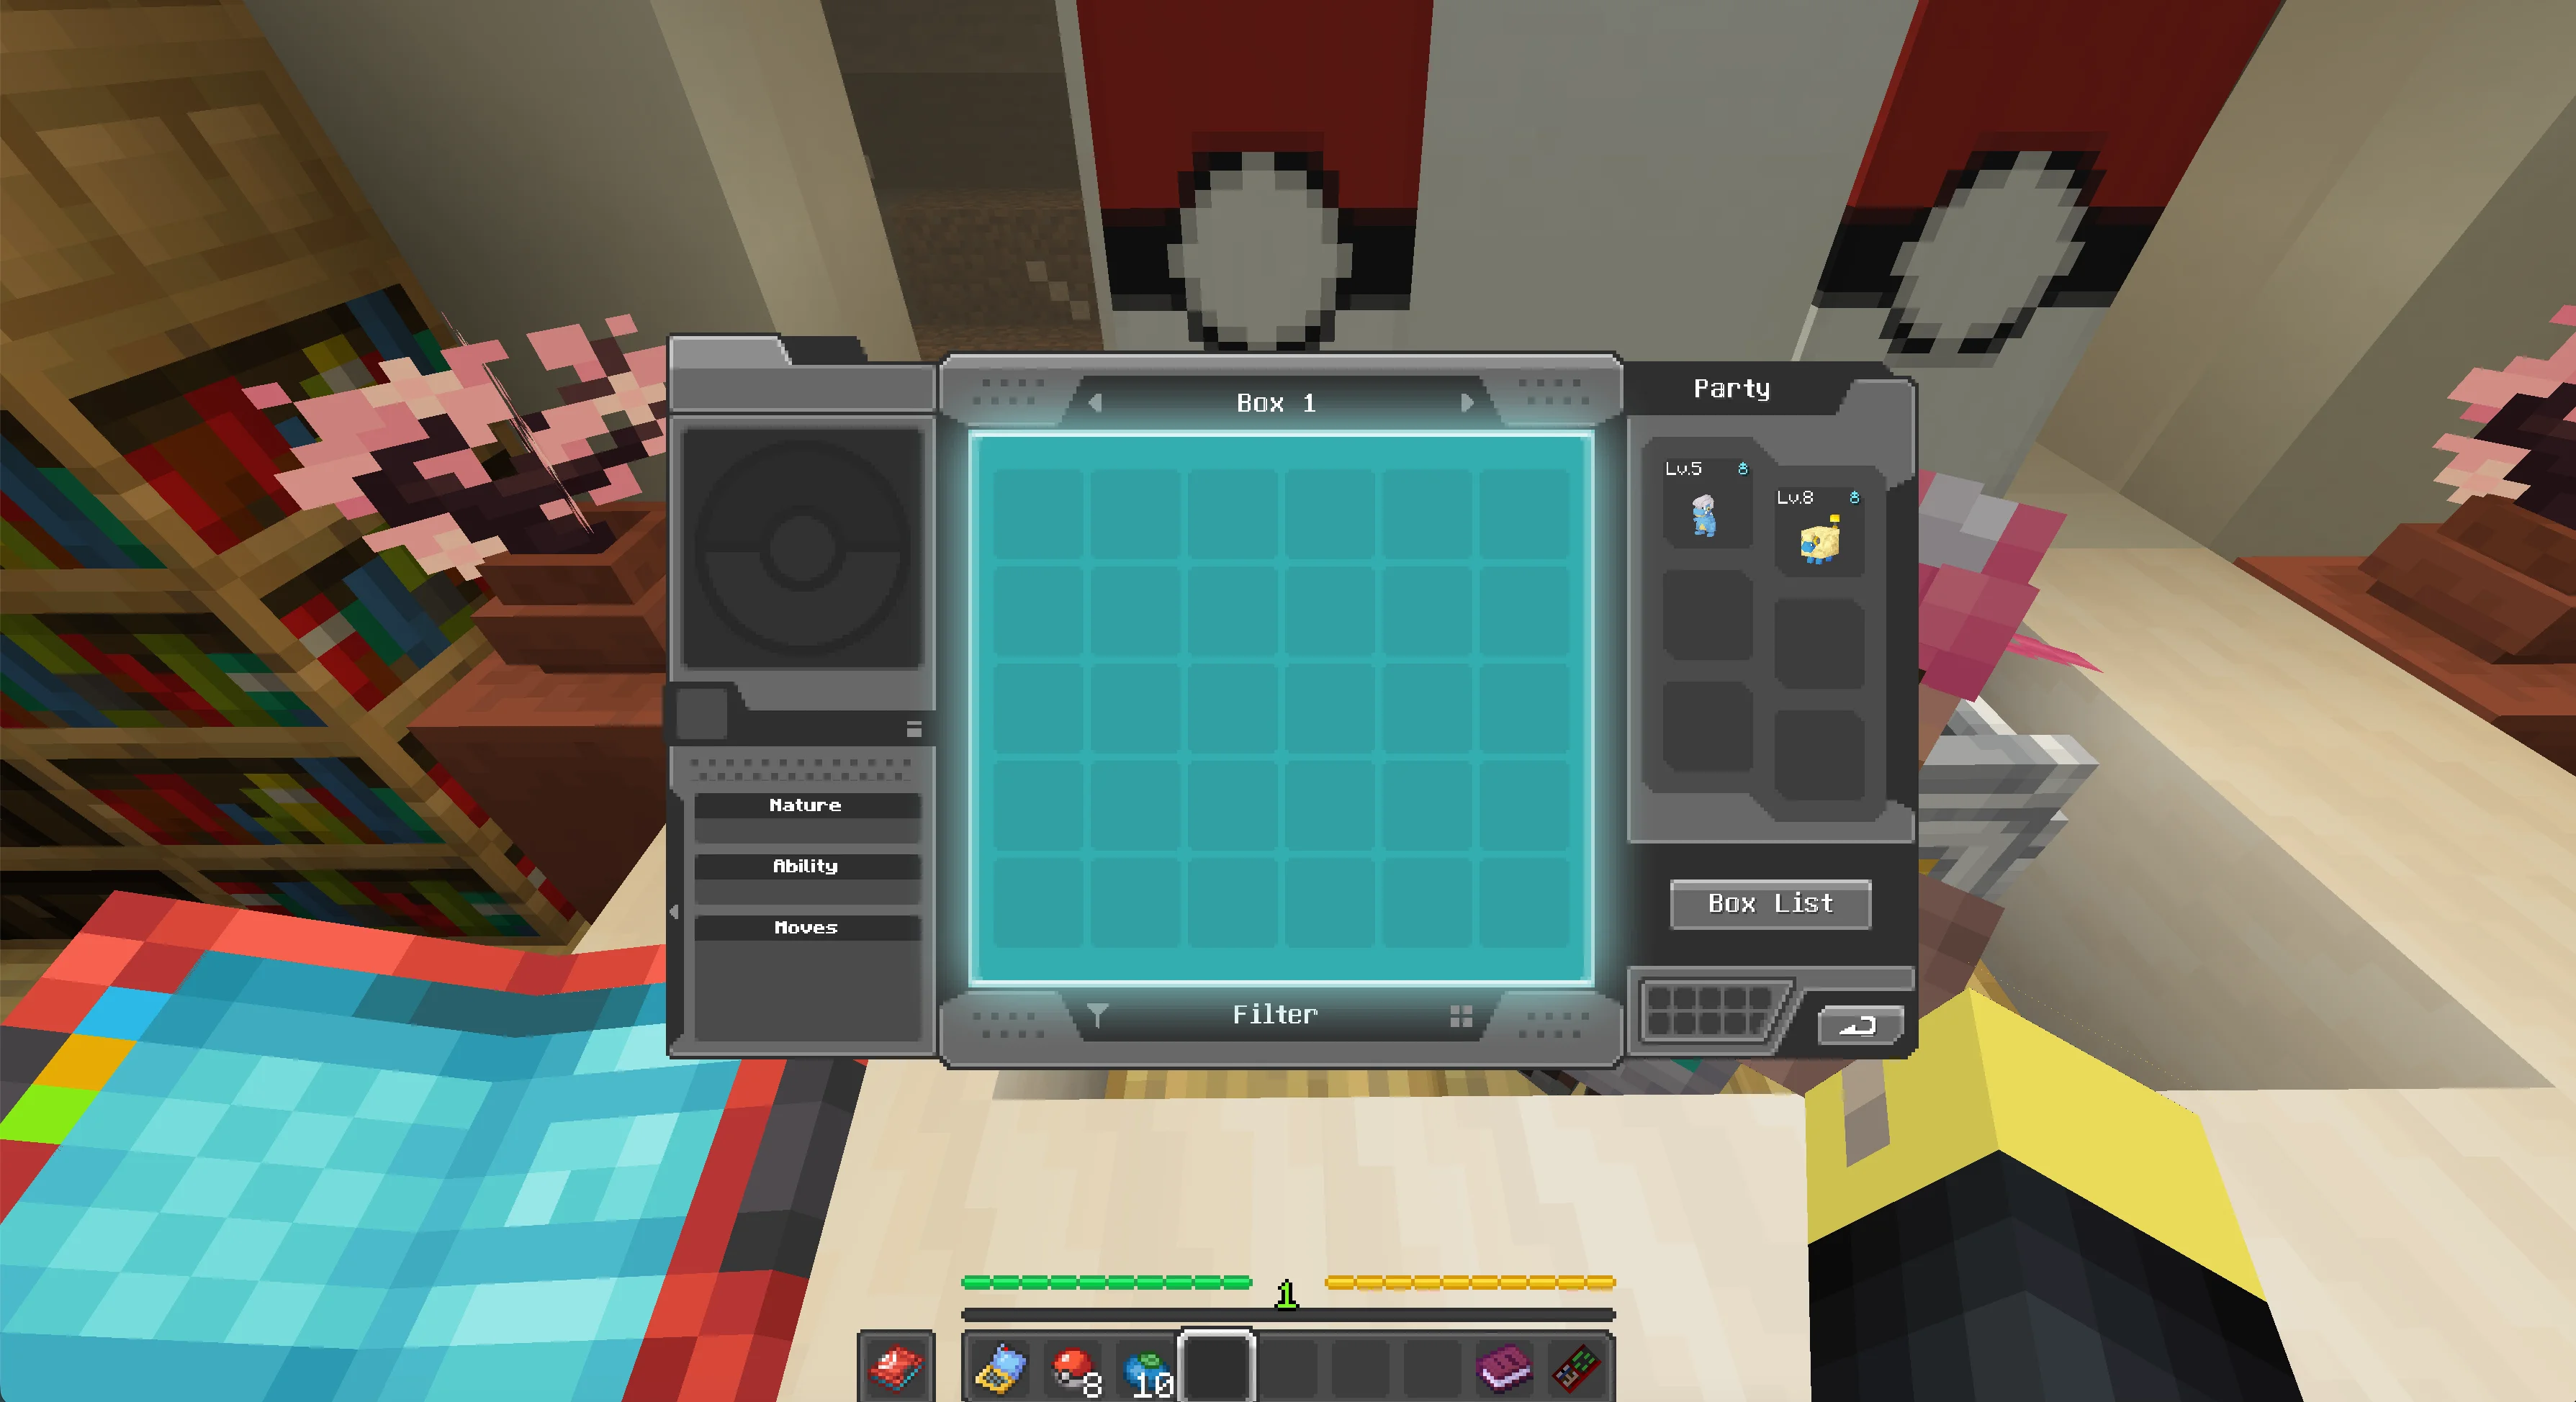
Press P in the tested default key bindings to open Pokémon storage. The storage screen shows the active party on the right and boxes in the center. Move extra catches out of the party when you want to keep experimenting without releasing them. If P does not open the screen, check the configured key under Minecraft Controls because local key conflicts can change the binding.
CobbleDollars are account currency rather than an inventory stack. Merchant screens show the bank balance along the bottom; the fresh test world began at zero. The 1.7.42 configuration enables CobbleDollar income from NPC and wild-Pokémon battles, so win manageable battles before planning purchases. Use the starting Poké Balls and berries first, then compare available merchants and prices in Battle and Shops.
Read Economy and Department Stores before committing the bank balance to a progression recipe or randomized merchant result.
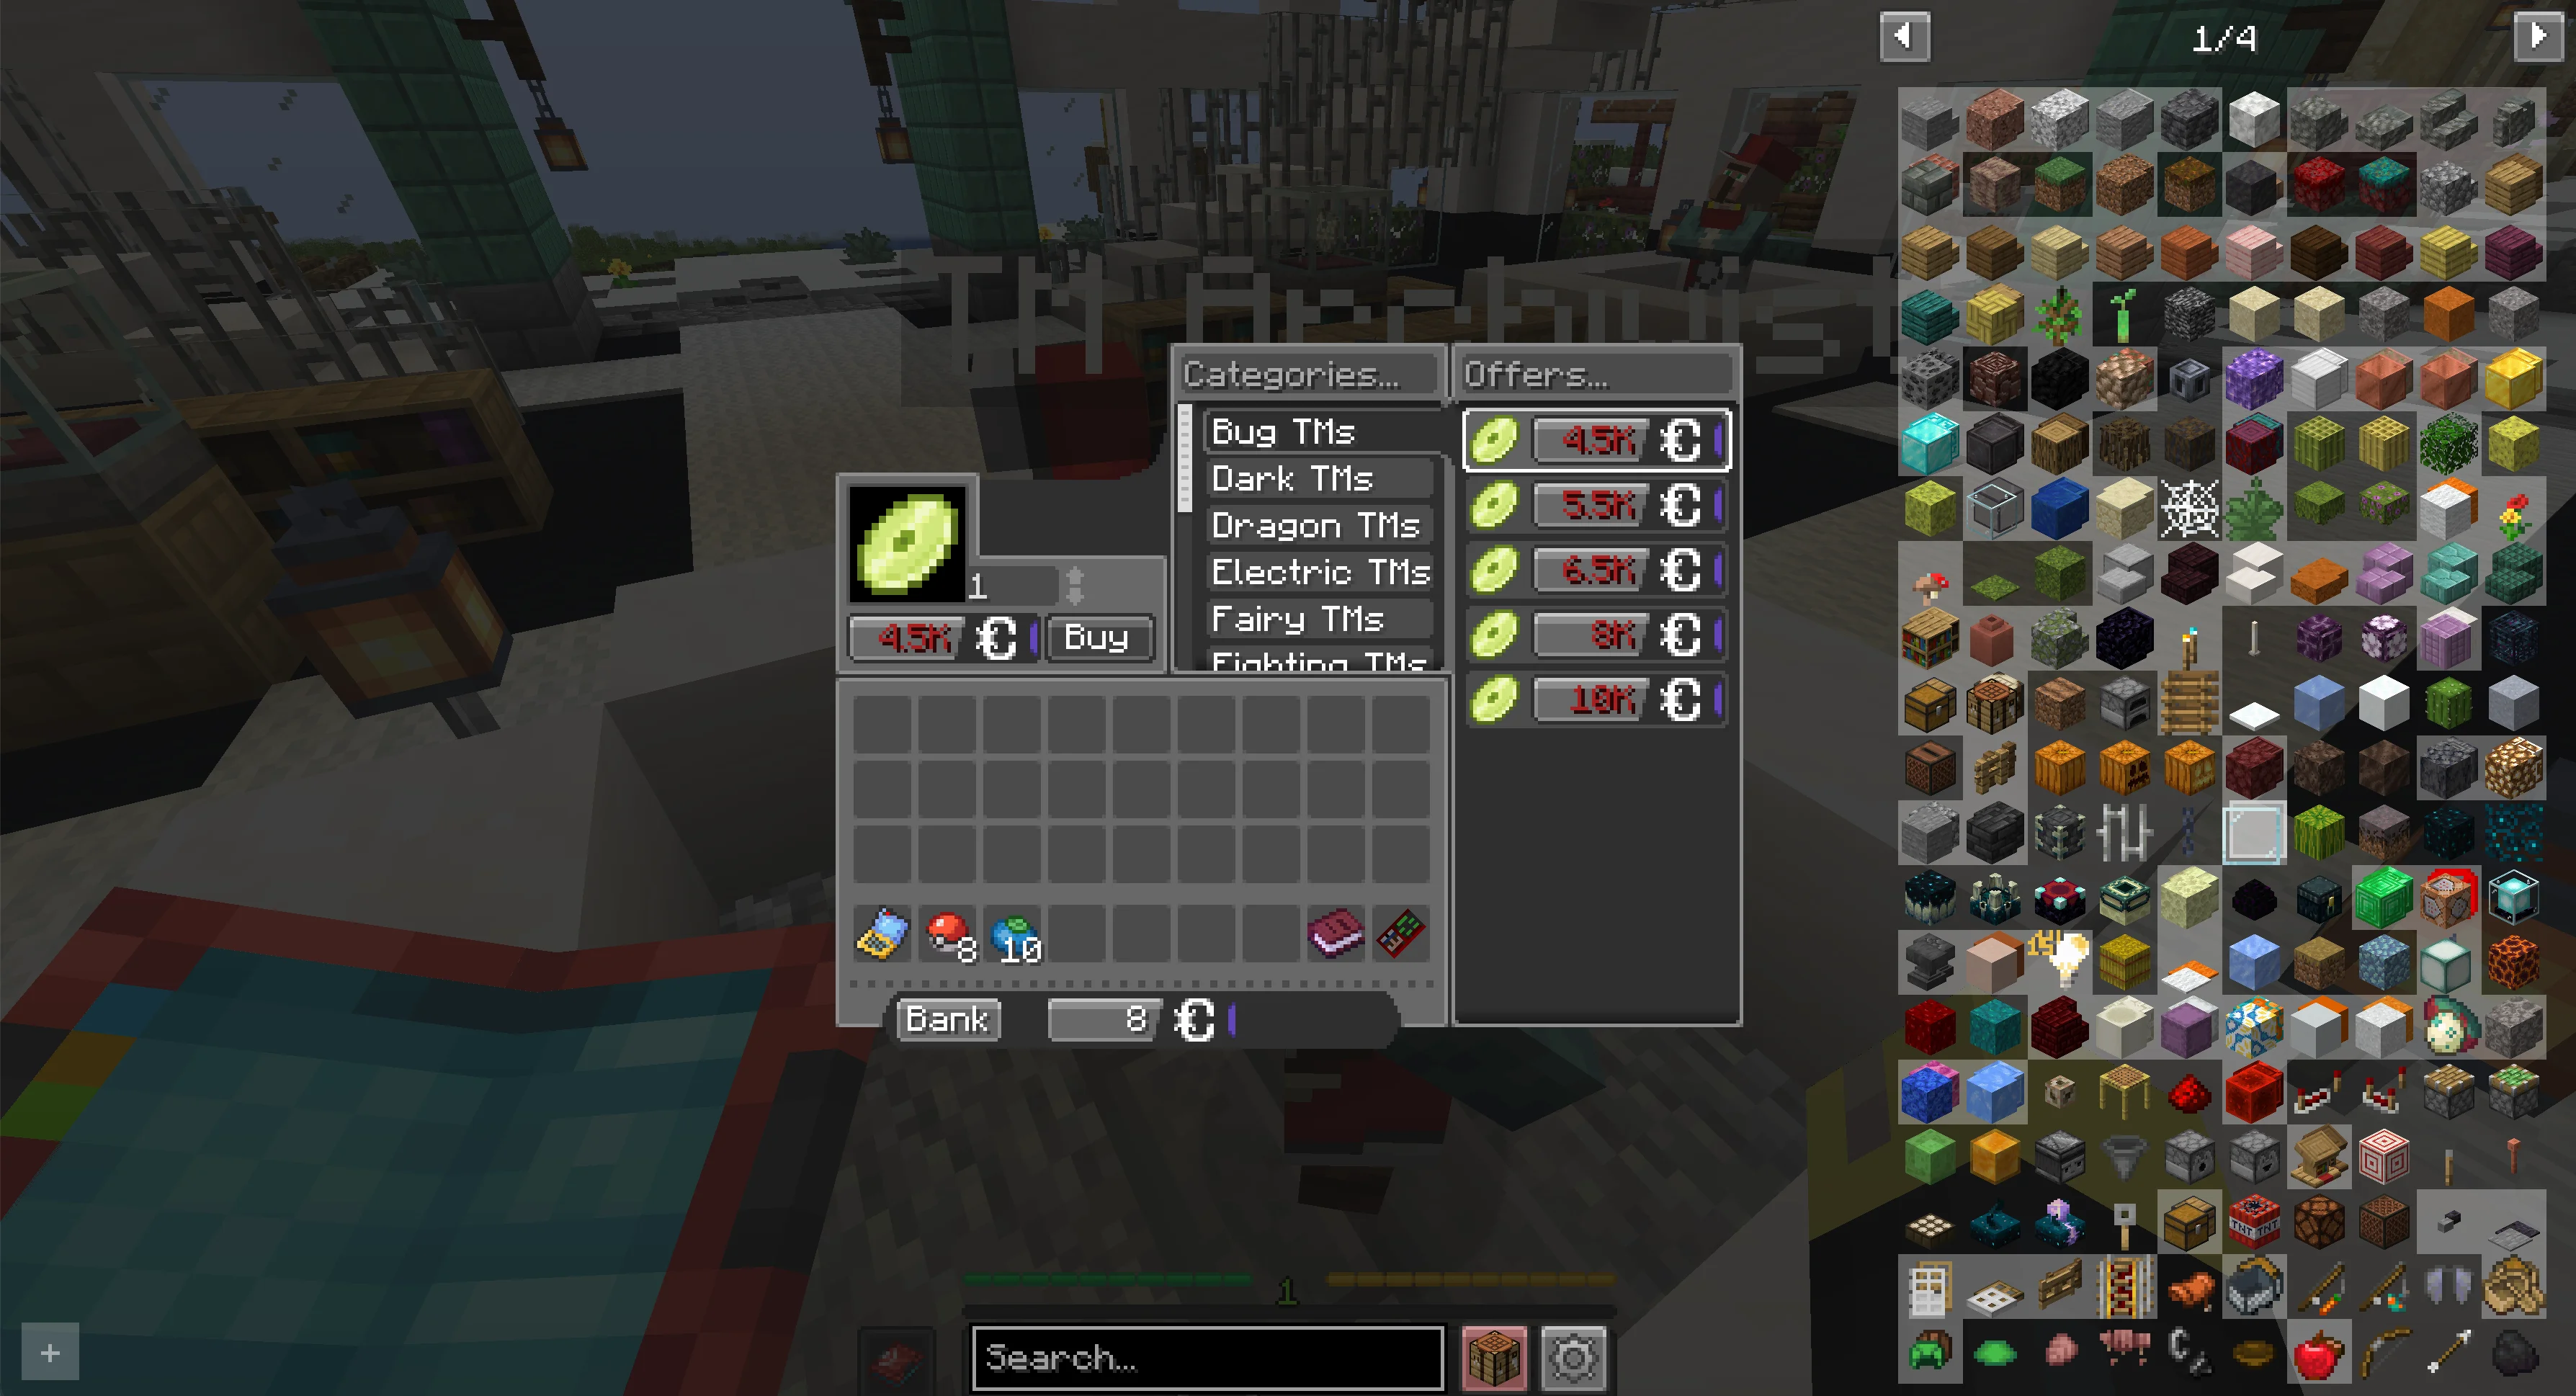
The site tools solve different parts of the first-session problem:
Start with only the starter and first catch. A complete long-term team plan is useful later, but it should not delay learning the basic encounter, healing, and storage loop.
The starter pack initializes the Trainer Card to Kanto. Open the card, enter the Kanto section, and read the active checkpoint. The verified card named Brock as the first objective, showed a current level cap of 25, and showed that defeating him raises it to 30.
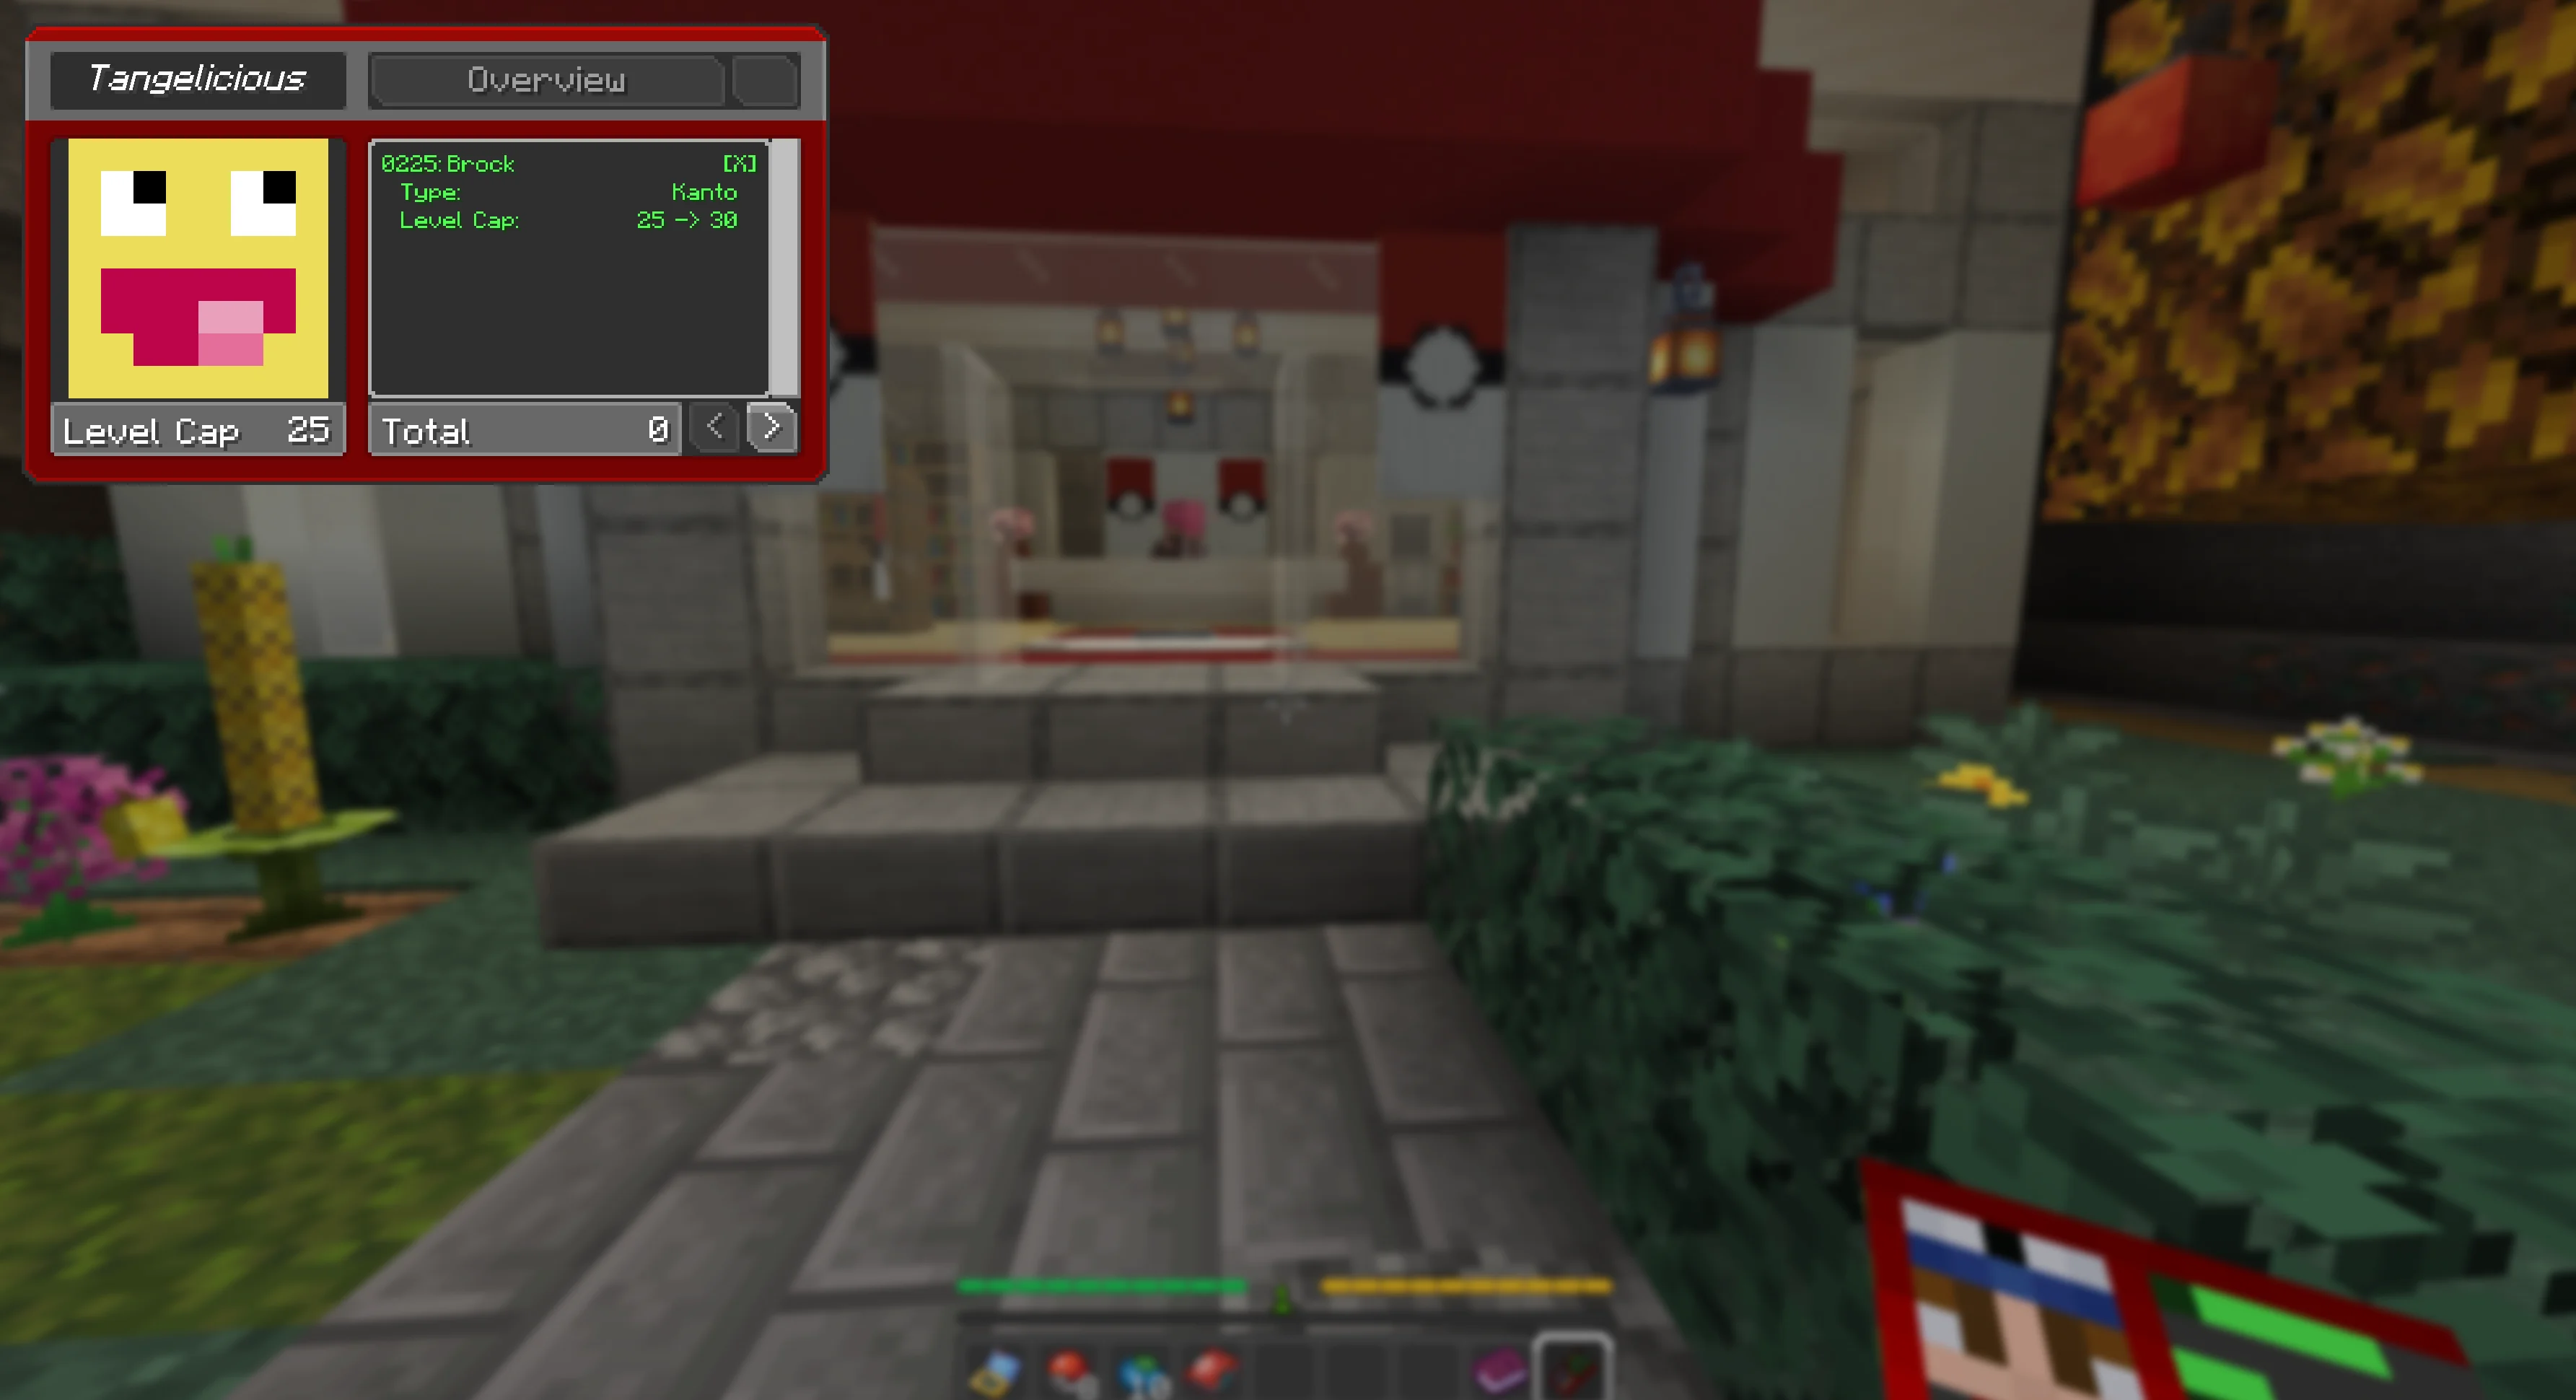
The bundled Cobbleverse guidebook says Gym Maps can be bought from village Map Guides or obtained by placing the correct regional Cartography Table near an unemployed villager. Use the Kanto progression page to keep the trainer order visible while you explore.
Your first meaningful goal is therefore:
The published route does not require commands. During the dated verification session, commands were enabled after the starter and catch sequence to shorten the trip to a village:
Server owners can change permissions, starter behavior, shop access, and progression settings. When a server differs from this guide, follow its published rules and treat the local administrator as authoritative.
Sources (4)
- Official COBBLEVERSE 1.7.42 release — release identity, Minecraft version, loader, and publication record
- Bundled data — docs/archive/adsense-readiness/evidence/ar-07-brief-01-verification-2026-07-29.md — profile provenance, hashes, screenshot ledger, commands, and observed results
- Bundled data — site-content/progression_guide/kanto/kanto.json — Brock's first-position Kanto checkpoint
- Bundled data — site-content/guides/getting-started/images — original first-session screenshots captured in COBBLEVERSE 1.7.42