
Legendary Spawning and Encounters
A verified index of Cobbleverse legendary encounter methods, showing which routes use structures, radars, altars, natural spawns, eggs, cloning, dimensions, or other special systems.
Guide
Cobbleverse does not use one universal legendary-spawn rule. Some Pokémon wait in generated structures; some require a radar and a separate altar item; some are natural spawns near a landmark; and others use eggs, cloning machines, portals, or dedicated dimensions. Start with the method in the inventory below, then follow the linked walkthrough for the exact recipe, location, level, and trigger.
Before leaving, carry capture supplies, healing, the exact required item, and the travel support named by that walkthrough. If a structure is involved, read Structures and Radars before treating a map marker as an entrance or assuming another legendary's locator recipe applies.
This table is reviewed against all 39 canonical entries in the generated legendary index. “Structure encounter” means the Pokémon is found as part of the structure route; it does not imply a shared altar or spawn trigger.
| Guide | Primary encounter path | Essential distinction |
|---|---|---|
| Articuno | Radar to structure encounter | Ice tower in Snowy Plains. |
| Galarian Birds | Conditional natural spawns | Separate day, night, and thunder conditions around Dyna Tree. |
| Zapdos | Radar to structure encounter | Copper tower in Stony Shore. |
| Moltres | Radar to structure encounter | Nether tower in Nether Wastes. |
| Mewtwo | Cloning machine | Restoration Tank, Fossil Analyzer, and Data Monitor system. |
| Mew | Structure altar/item | Origin Fossil at the jungle temple. |
| Legendary Beasts | Conditional natural spawns | Ultra-rare spawns around Burned Tower with separate condition bonuses. |
| Lugia | Radar, structure, and altar | Silver Wing at Whirl Island after Rocket Radio Tower progression. |
| Ho-Oh | Radar, structure, and altar | Rainbow Wing at Bell Tower. |
| Celebi | Structure altar/item | Ilex Shrine inside the Taiga structure. |
| Regirock | Radar, mined relic, and altar | Pebble Relic at the Lush Desert temple. |
| Regice | Radar, mined relic, and altar | Cryo Relic at the Snowy Badlands temple. |
| Registeel | Radar, mined relic, and altar | Metal Relic at the Alpine Highlands temple. |
| Eon Duo | Radar and two altars | Ruby and Sapphire Dews activate separate encounters. |
| Kyogre | Radar, underwater structure, and altar | Ocean Core at the Deep Cold Ocean temple. |
| Groudon | Radar, structure puzzle, and altar | Collect Heat Stones before using the Earth Core. |
| Rayquaza | Structure route | Sky Pillar climb, trainers, and puzzles. |
| Jirachi | Structure-contained summon item | Melodic Tape is hidden in the Blooming Plateau structure. |
| Deoxys | End structure and contained summon item | Meteorite Crystal is distinct from the later form item. |
| Uxie | Trial item and lake altar | Acuity trial produces the altar item and a Red Chain jewel. |
| Mesprit | Trial item and lake altar | Verity trial produces the altar item and a Red Chain jewel. |
| Azelf | Trial item and lake altar | Valor trial produces the altar item and a Red Chain jewel. |
| Dialga | Shared altar sequence | Adamant Orb then Red Chain at Spear Pillar. |
| Palkia | Shared altar sequence | Lustrous Orb then Red Chain at Spear Pillar. |
| Heatran | Radar, dungeon, and altar | Magma Stone at Stark Mountain. |
| Regigigas | Structure altar/item | Titan Relic at Snowpoint Temple. |
| Giratina | Portal, dimension radar, and altar | Turnback Cave leads to Distortion World. |
| Cresselia | Island structure summon | Fullmoon Island route produces the Darkrai prerequisite. |
| Manaphy | Structure egg | Explore Deep Cold Ocean and hatch the recovered egg. |
| Darkrai | Sleep entry and dimension ritual | Moonlight Amulet opens Nightmare Dimension; collect ritual strings. |
| Shaymin | Party prerequisite and island altar | Professor Oak's Letter leads to Flower Paradise. |
| Arceus | Flute entry, trainers, and plate ritual | Origin Dimension requires three flute components and all 18 plates. |
| Zygarde | Cell/Core assembly machine | Load a Zygarde Cube and process it in a Reassembly Unit; quantities select 10%, 50%, or Power Construct. |
| Necrozma Towers | End radar and tower trigger | Dawn and Dusk towers are parallel routes. |
| Eternatus | End structure deposit | Galar Particle deposit at an Eternatus Cocoon. |
| Split-Decision Temple | Mutually exclusive altar choice | One temple yields Regieleki or Regidrago, not both. |
| Calyrex Ice Rider | Radar and linked structure summons | Crown Spire route includes Glastrier and Calyrex. |
| Calyrex Shadow Rider | Radar and linked structure summons | Crown Cemetery route includes Spectrier and Calyrex. |
| Wo-Chien | Stake collection and shrine | Eight Nether stakes unlock the matching shrine. |
A radar narrows the structure search; it does not replace the encounter prerequisite. Ho-Oh still needs the Rainbow Wing, Kyogre still needs the Ocean Core, and Dialga still needs its orb and Red Chain sequence. Open the exact walkthrough before crafting because recipes, cartography tables, dimensions, and biome constraints vary.
The Structures and Radars guide explains the common map-reading and failure checks. The parser-backed Locator Chip page is the maintained source for the component used by the general Poke Radar.
An altar may consume or transform a prerequisite, produce a reward, or lock an alternative. Dialga demonstrates an ordered sequence: place the Adamant Orb first, then use the Red Chain. Regieleki and Regidrago demonstrate a choice: activating one altar removes the other in that temple.
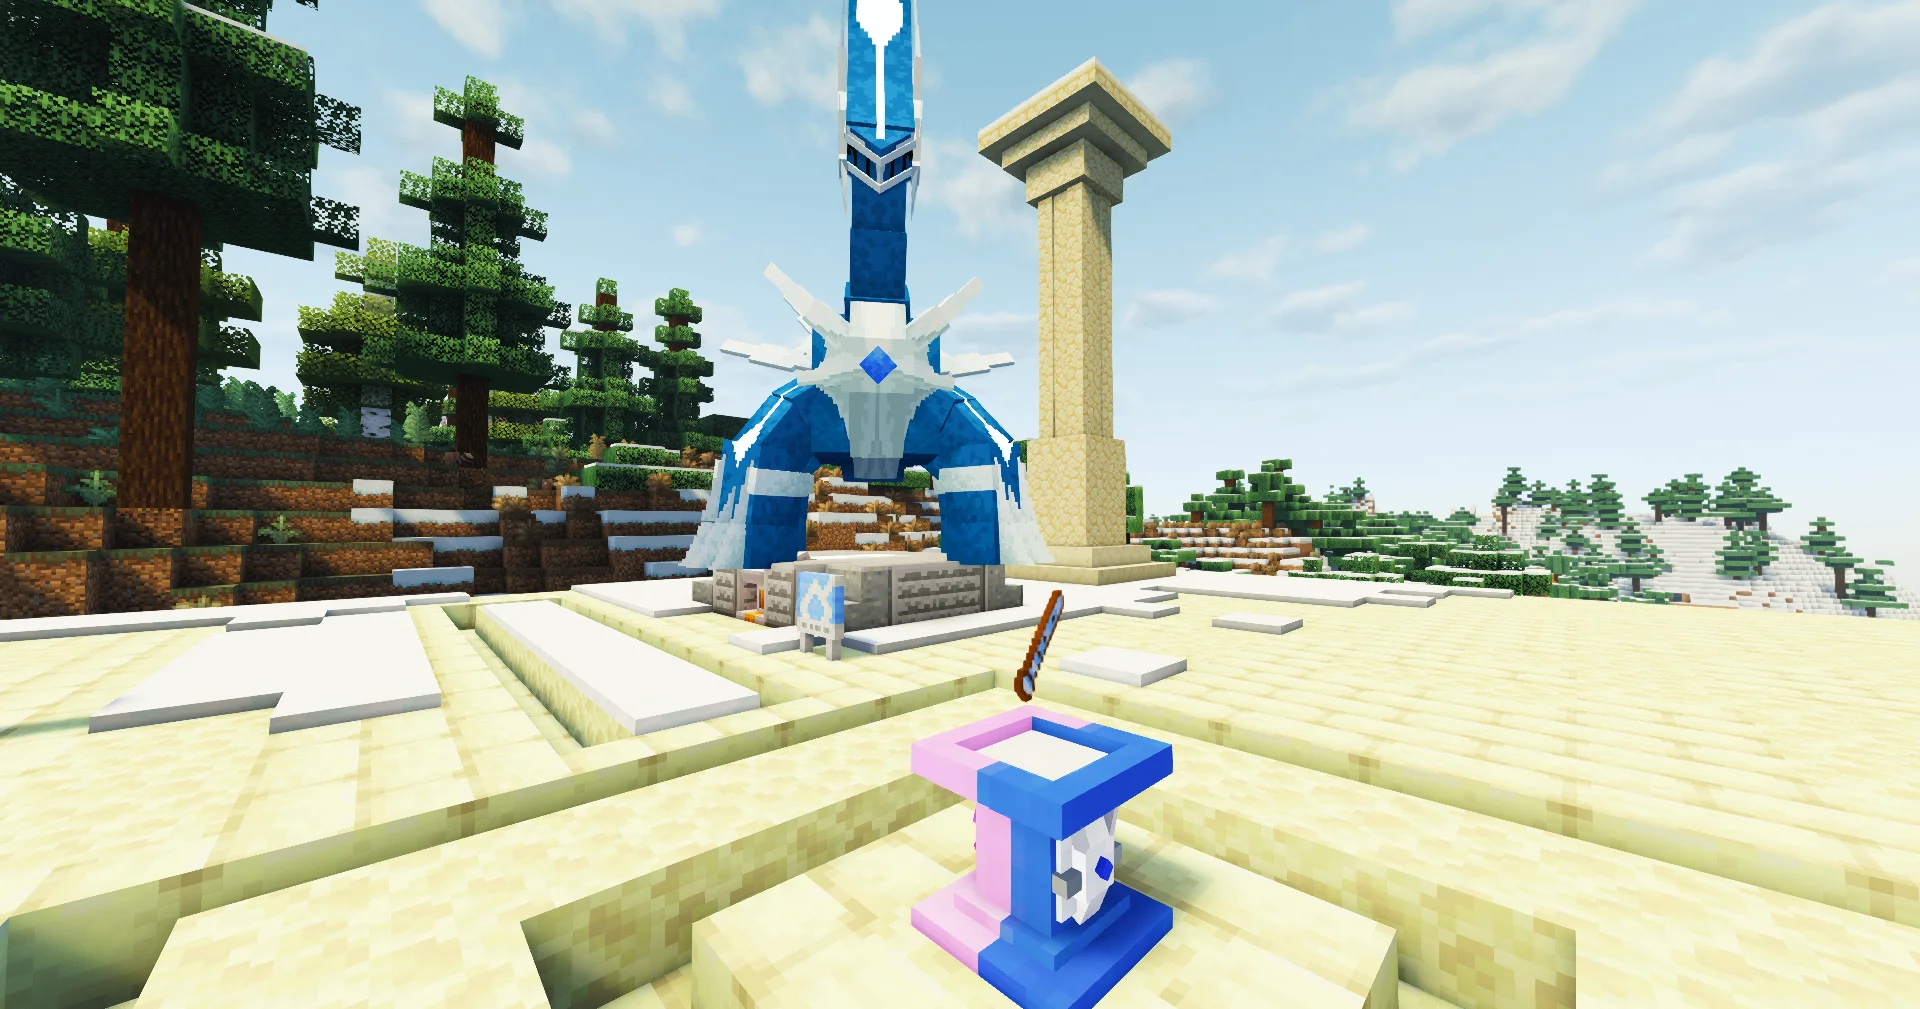
Do not infer consumption or repeatability from a different altar. Keep backup supplies only when the individual walkthrough verifies a repeatable acquisition path.
The Legendary Beasts and Galarian Birds are documented conditional natural-spawn groups, not altar summons. Their guide data identifies separate time or weather modifiers. A multiplier changes relative selection; it is not a guaranteed spawn or a published catch-rate promise.
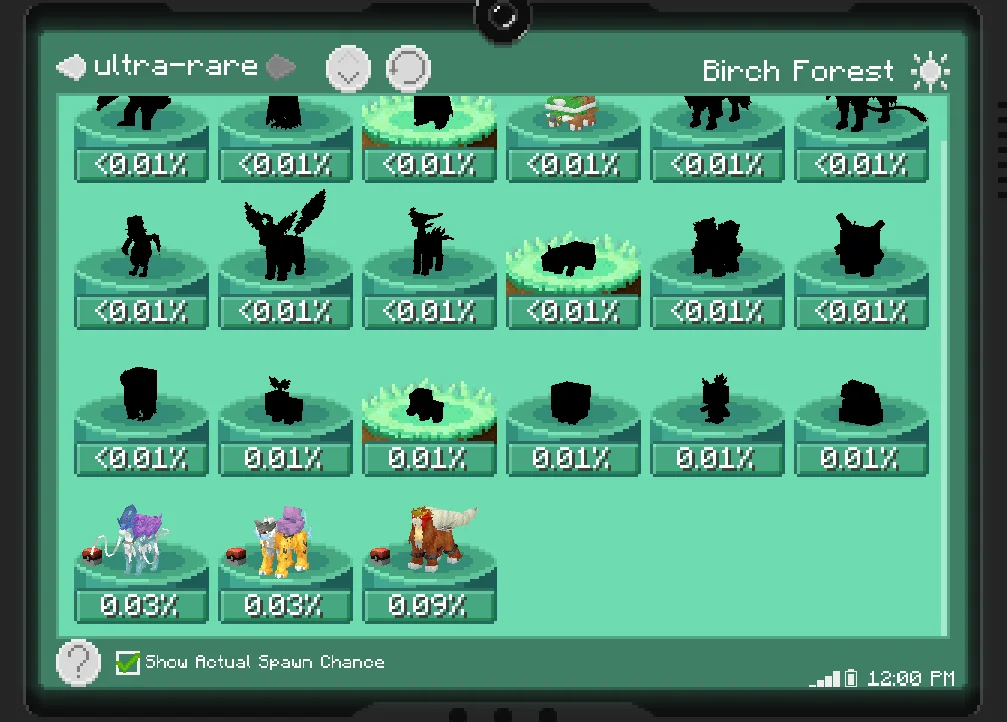
Remain in the exact landmark area and wait for the named condition from the group guide. If the server changes spawn settings, treat its rules as authoritative.
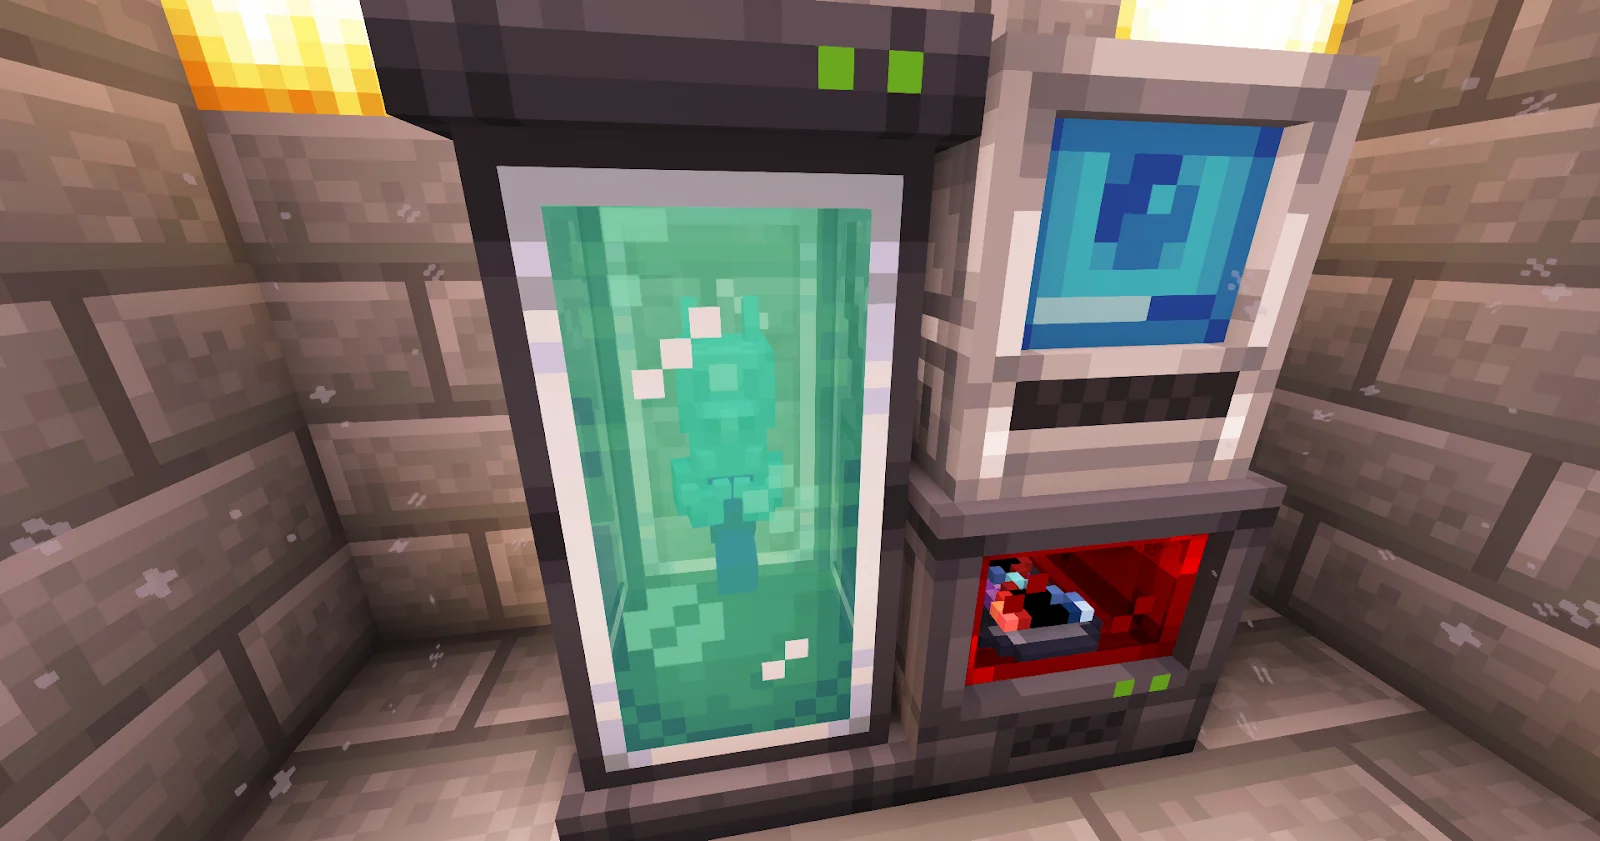
Mewtwo is produced through a multi-block cloning setup. The machine has its own materials, loading order, progress display, and variant catalysts; a radar or generic altar item is irrelevant.
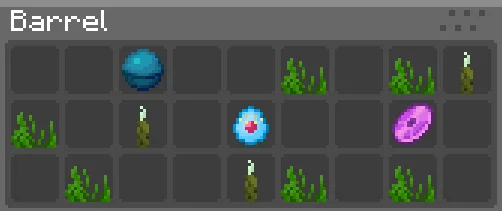
Manaphy begins as an egg stored in an underwater structure and has no verified bundled radar recipe. Recover the egg, keep an inventory slot available, and follow its hatching workflow.
Zygarde is assembled rather than summoned or caught as a normal adult encounter. Collect Cells and Cores, load a Zygarde Cube with the quantities for the form you want, process the Cube in a Reassembly Unit, and use a Poké Ball on the finished machine. A full Cube produces 50% Zygarde with Power Construct; Complete Forme appears only after the ability activates in battle.
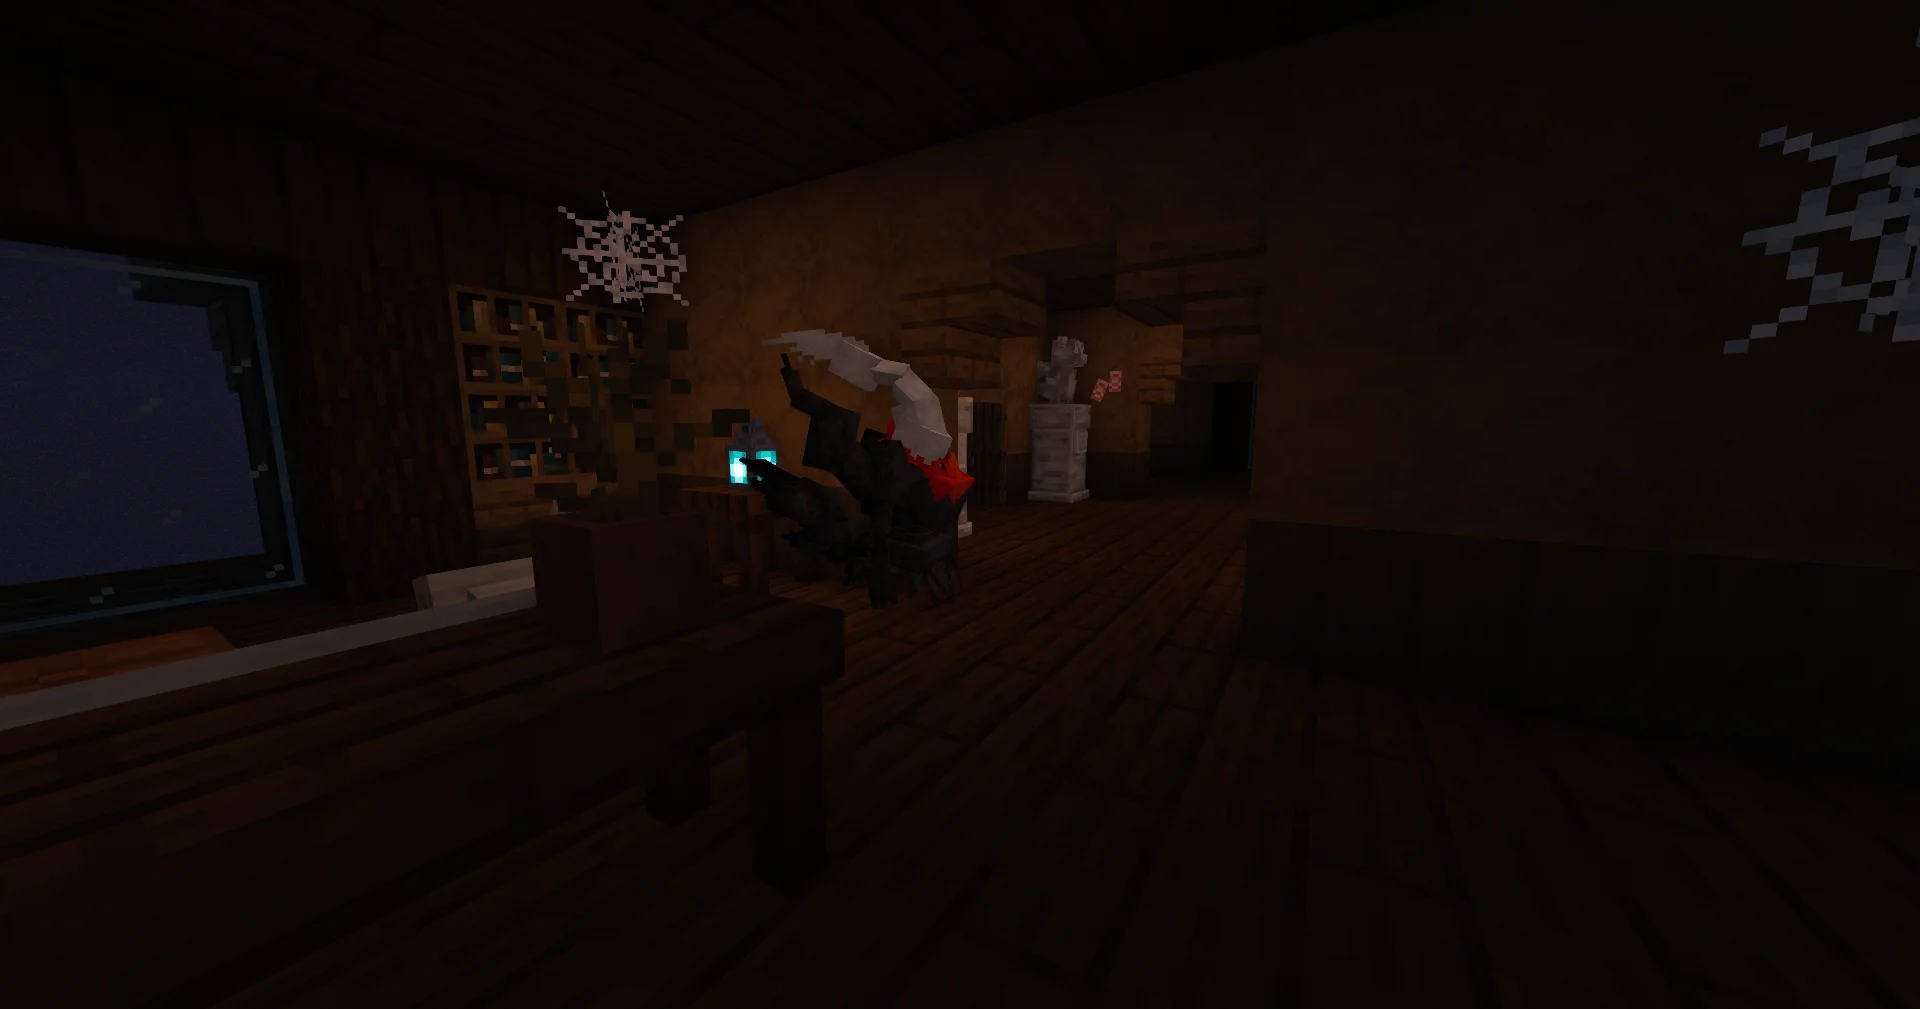
Giratina, Darkrai, and Arceus use different dimension-entry paths. Darkrai requires the Moonlight Amulet from the Cresselia route, sleeping to enter Nightmare Dimension, and a ritual assembled inside the inn.
Use the comparison table as the canonical inventory, then follow one walkthrough from start to finish. For regional requirements, confirm the active checkpoint in the Progression Overview. For recipes and live acquisition sources, follow the linked Items directory rather than copying a screenshot's price or drop list.
Sources (5)
- Official COBBLEVERSE 1.7.42 release — release identity, Minecraft version, and loader
- Bundled data — frontend/public/legendaries/index.json — canonical 38-entry published inventory validated by route tests
- Bundled data — site-content/legendaries/*/guide.md — encounter-specific mechanics, prerequisites, failure bounds, and internal links
- Bundled data — data-parser/data/datapacks/COBBLEVERSE-DP-v31.zip and regional datapacks — structure, spawn, recipe, altar, advancement, and dimension records
- Bundled data — site-content/legendaries/{dialga,legendary-beasts,mewtwo,manaphy,darkrai}/images — original mechanic evidence used here